|
|
Bonding pitot/static tubing clips |
|
|
|
Navigation & Acknowledgements |
3 pictures on this page - scroll down to see the rest
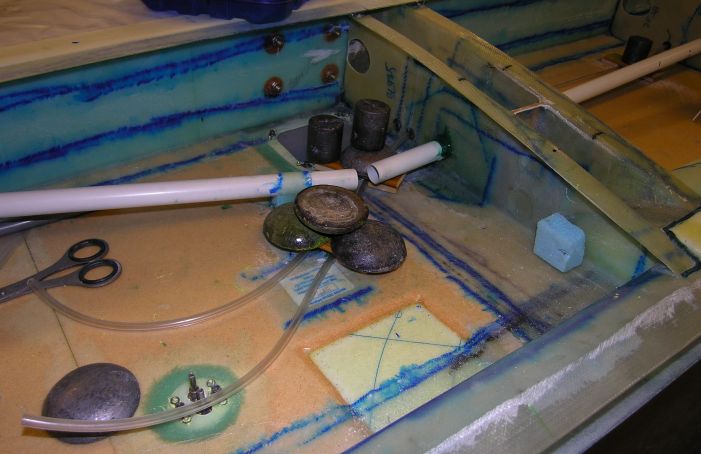
bonding in the pitot-static tubing clips: 2008-02-14.
Nikon Coolpix 8400
Lead weights on the wooden bridges over the double tubing clips for the pitot and static lines in the port wing to keep them in place while the Redux bond cures. When I started to bond in the clips, the tubing was connected to the pitot-static mast to ensure I got a nice line without kinks, but I had to remove it because the tubing was so springy it was making the clip drift away from the desired position, even with the 3 lead weights on it. In fact it got moved about so much that the bond was poor and I had to peel this particular clip off and stick on a new one anyway. Here you can also see the reinforcing BID donut (actually octagonal in shape) around the conduit hole in the rib. As I had plenty of older Redux in stock I used it to bond the conduit sleeves to the ribs in this wing. I had used epoxy in the starboard wing and found it less satisfactory as it is even more runny and less gap-filling than Redux.
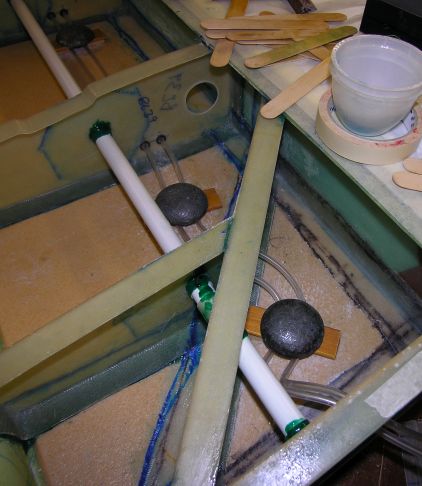
bonding in the pitot-static tubing clips: 2008-02-14.
Nikon Coolpix 8400
Bonding in the clips for the pitot-static tubing near the root. The tubing seemed much better-behaved here so less weight was needed to keep the clips in place. Again a BID donut is visible around the conduit hole in the rib, also some of the spar-to-skin reinforcing BID strips. Their edges show up because I mark all glass cloth with a felt-tip pen before cutting.
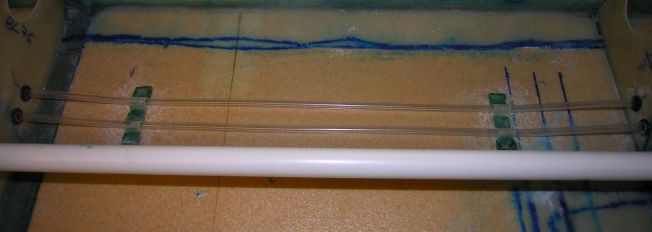
pitot-static tubing clips: 2008-02-15.
Nikon Coolpix 8400
The double clips installed between ribs on the pitot-static tubing. In the foreground is the conduit, and at the rear is the edge of the spar-to-skin BID reinforcement. At bottom right is the edge of the W18 flap bracket reinforcement.
|
|
|
go to next picture page |
|
|
||
| Return to Rowland's home page |
| This page last updated 2013-10-16. I try to make this page as accessible as possible, by adhering to HTML 4 standards. |
|
|
| I welcome comments on this website. However, because of the amount of spam it attracts, I no longer post a direct e-mail address on any page. Instead, please click here to contact me. You will have to confirm that you are human before the message will be sent on to me. | ||